Simplifying Secure Communication with Zero Tier: A Beginner’s Guide
In the digital age, protecting our networks and data has become paramount. Virtual Private Networks (VPNs) have long been the go-to solution for this, enabling secure communication tunnels to ward off external threats. However, setting up a VPN can often be a complex and time-consuming task. But what if I told you there’s a simpler way?
Welcome to the world of Zero Tier, an alternative to traditional VPNs that offers easy remote communication control capabilities without the headache of dealing with servers and IP addresses.
What is Zero Tier?
In essence, Zero Tier emulates layer 2 communication, which focuses on delivering data between network nodes belonging to the same network. The beauty of Zero Tier lies in its simplicity – it accomplishes this without needing public IP addresses or any particular setups. All you need to do is install its software on all devices involved.
Setting Up Zero Tier: A Walkthrough
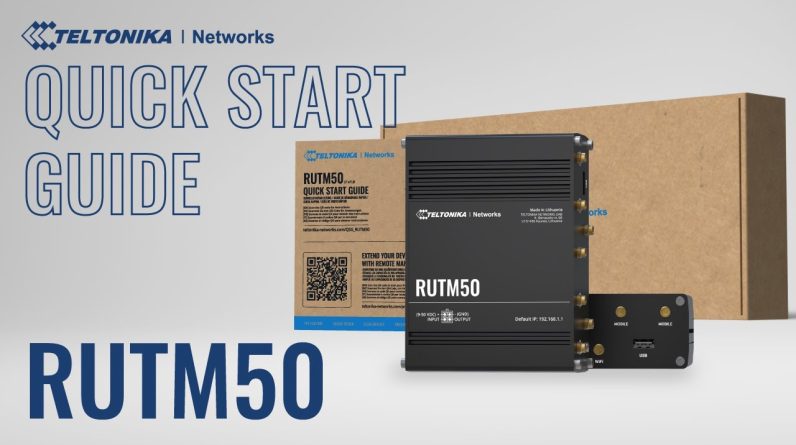
Setting up Zero Tier is refreshingly simple and requires almost zero effort. Let’s walk through the process of configuring it on two routers, the RX50 and RX11, which run on Teltonika’s own operating system, RUT.
Step 1: Create Your Zero Tier Account
The first step is to create your Zero Tier account. If you already have one, simply log in.
Step 2: Create a New Network
Once you’re logged in, create a new network by pressing the ‘Create a Network’ button. A new network will appear; click on it to enter the edit mode.
Step 3: Configure Your Settings
You’ll now be greeted with Zero Tier Central page, full of settings segmented into two sections: Basics and Advanced. Navigate to the Advanced section first.
In the Managed Routes window, you’ll find an automatically generated IP address. Delete this and type in your own IP address. This should be the IP address you want to create a network with, or the one from which you want to distribute IP addresses to other connected devices.
Next, scroll down until you reach the IPv4 Auto Assign window. Unselect the ‘Auto Assign From Range’ option, as it’s not relevant to this Bridge configuration.
Step 4: Log into the Router
Now, it’s time to log into the router.
Setting Up Zero Tier on RUTX50
To start, ensure you are in advanced mode. The setup will not be successful unless the Zero Tier package is installed. If you haven’t done that yet, navigate to the system section, select ‘Package Manager’ and choose ‘Zero Tier’ from the list. Click the plus icon in the actions tab and click ‘Continue’.
Once the Zero Tier package is installed on the device’s operating system, go to the services section, click on VPN, and choose Zero Tier. You’ll be creating a new configuration, so name it for easy management purposes and click ‘Add’.
In the new window that pops up, enable the instance. In the ‘Add New Instance’ section, add a new network by naming it as per your preference and press ‘Add’. Enable the Zero Tier network by turning on the interface. For the Network ID, go to your Zero Tier account and copy the network ID from the basics section. Return to the device’s web UI and paste it. Make sure that in the ‘Bridge 2’ window, the LAN interface is selected and the ‘Allow Managed IP’ option is disabled. Press ‘Save’ and ‘Apply’ in both windows.
You’ve just created a Zero Tier instance within the router. Now, go back to the Zero Tier Central page. In the ‘Members’ tab, you’ll see that the router has appeared and is trying to authenticate itself. Approve the authentication by checking the box next to it. After that, press the ‘Edit’ icon, and additional options will appear. Check the box next to ‘Allow Ethernet Bridging’.
Setting Up Zero Tier on RUTX11
The same steps used for RUTX50 will apply to RUTX11 or any other Tonica networks or OpenWrt based device. After applying the same configuration to this router, adjust one more thing in the LAN settings. Click on the ‘Network’ section and select ‘LAN’. Now, click on the pencil icon to edit the LAN interface.
In the ‘Interfaces’ window next to the IPv4 address section, type in the IP address that would belong to the same network as the first router. After that, go to the ‘DHCP Server’ window and make sure the DHCP is disabled. Press ‘Save’ and ‘Apply’.
Go back to the Zero Tier Central page, and in the ‘Members’ tab, you’ll see that one more device is attempting to authenticate itself. Approve it by checking the box next to it. Don’t forget to also click on the ‘Edit’ icon and check the ‘Allow Ethernet Bridging’ to add the router to the network.
Testing and Conclusion
Now that the Zero Tier bridge is configured with two routers belonging to the Zero Tier network, you can test if one of the routers can communicate with the other. Use the Ping function for this. Go to the system section and within the maintenance settings, select ‘Troubleshoot’. Scroll down until you reach the ‘Diagnostics’ window. Enter the IP address of the first router in the address section and click ‘Perform’. The Ping action will then be executed.
To perform the same test from the first router’s perspective, simply log into the first router’s operating system and enter the IP address of the second router. If the pings are successful from both sides, it shows that both routers can communicate with each other using a Zero Tier bridge.
And voila! You’ve just created a bridge between your devices and Zero Tier networks. Now, you can sit back, relax, and enjoy your newly established communication bridge without any network security concerns. Stay tuned for more configuration tutorials in our upcoming posts!
Discover how to effortlessly set up a secure ZeroTier communication bridge on Teltonika Networks devices. This easy-to-follow tutorial guides you through the process of using ZeroTier as an efficient alternative to traditional VPNs for establishing secure remote communication. Learn step-by-step how to configure ZeroTier on routers, manage IP addresses, and enable Ethernet bridging for seamless device communication. Perfect for both beginners and seasoned network professionals looking to enhance their network security and connectivity. Join us to simplify your network management and ensure secure, efficient communication across your devices.
Timestamps:
00:00 – Intro
01:08 – Network Creation
01:57 – RUTX50 setup
03:40 – RUTX11 setup
05:09 – Testing and Conclusion
Read Get Hitch for all your AI, VPN, tech and cyber security news and information on Teltonika products


